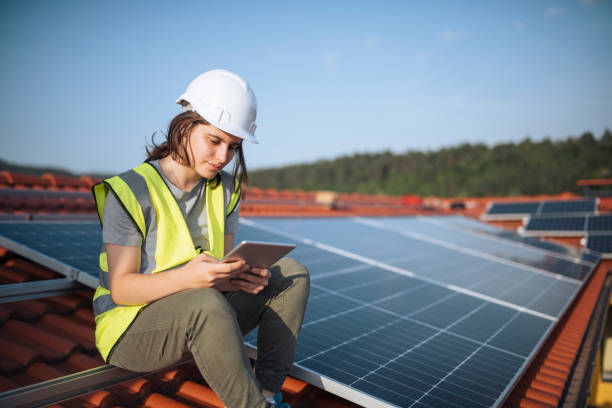
A Step-by-Step Guide to Solar Panel Installation
Solar panels are a popular way to harness the sun’s energy. Understanding the installation process is essential for those considering a transition to solar power.
1. Site Assessment
The first step is to evaluate the location’s solar potential. Factors like sunlight exposure, shading, and roof orientation are considered. Professionals use tools to determine the best placement for solar panels.
2. System Design
Based on the site assessment, the solar system is designed. This includes determining the number of panels, their placement, and the electrical configuration. Local weather conditions and desired energy output are factored in.
3. Mounting Structure Installation
Racks or frames are installed on the roof or ground to support the solar panels. These structures ensure secure placement and proper ventilation.
4. Wiring and Electrical Connections
The solar panels are wired together and connected to the inverter. The inverter converts DC electricity from the panels into usable AC electricity.
5. Testing and Commissioning
Before the system is operational, thorough testing is conducted. This includes checking components, verifying connections, and ensuring safety and performance standards are met.
By following these steps, you can successfully install a solar panel system and harness the power of the sun for your energy needs.

